In this project you will work in teams of 3 to make a comic that changes the way people think about science. Here’s a handy google doc to keep track. But first, here is my all-time favourite comic.
Comics can change
attitudes behaviour beliefs the future
How is this course transdisciplinary?
Transdisciplinary learning is when the project involves more than one way of thinking.
This project includes:
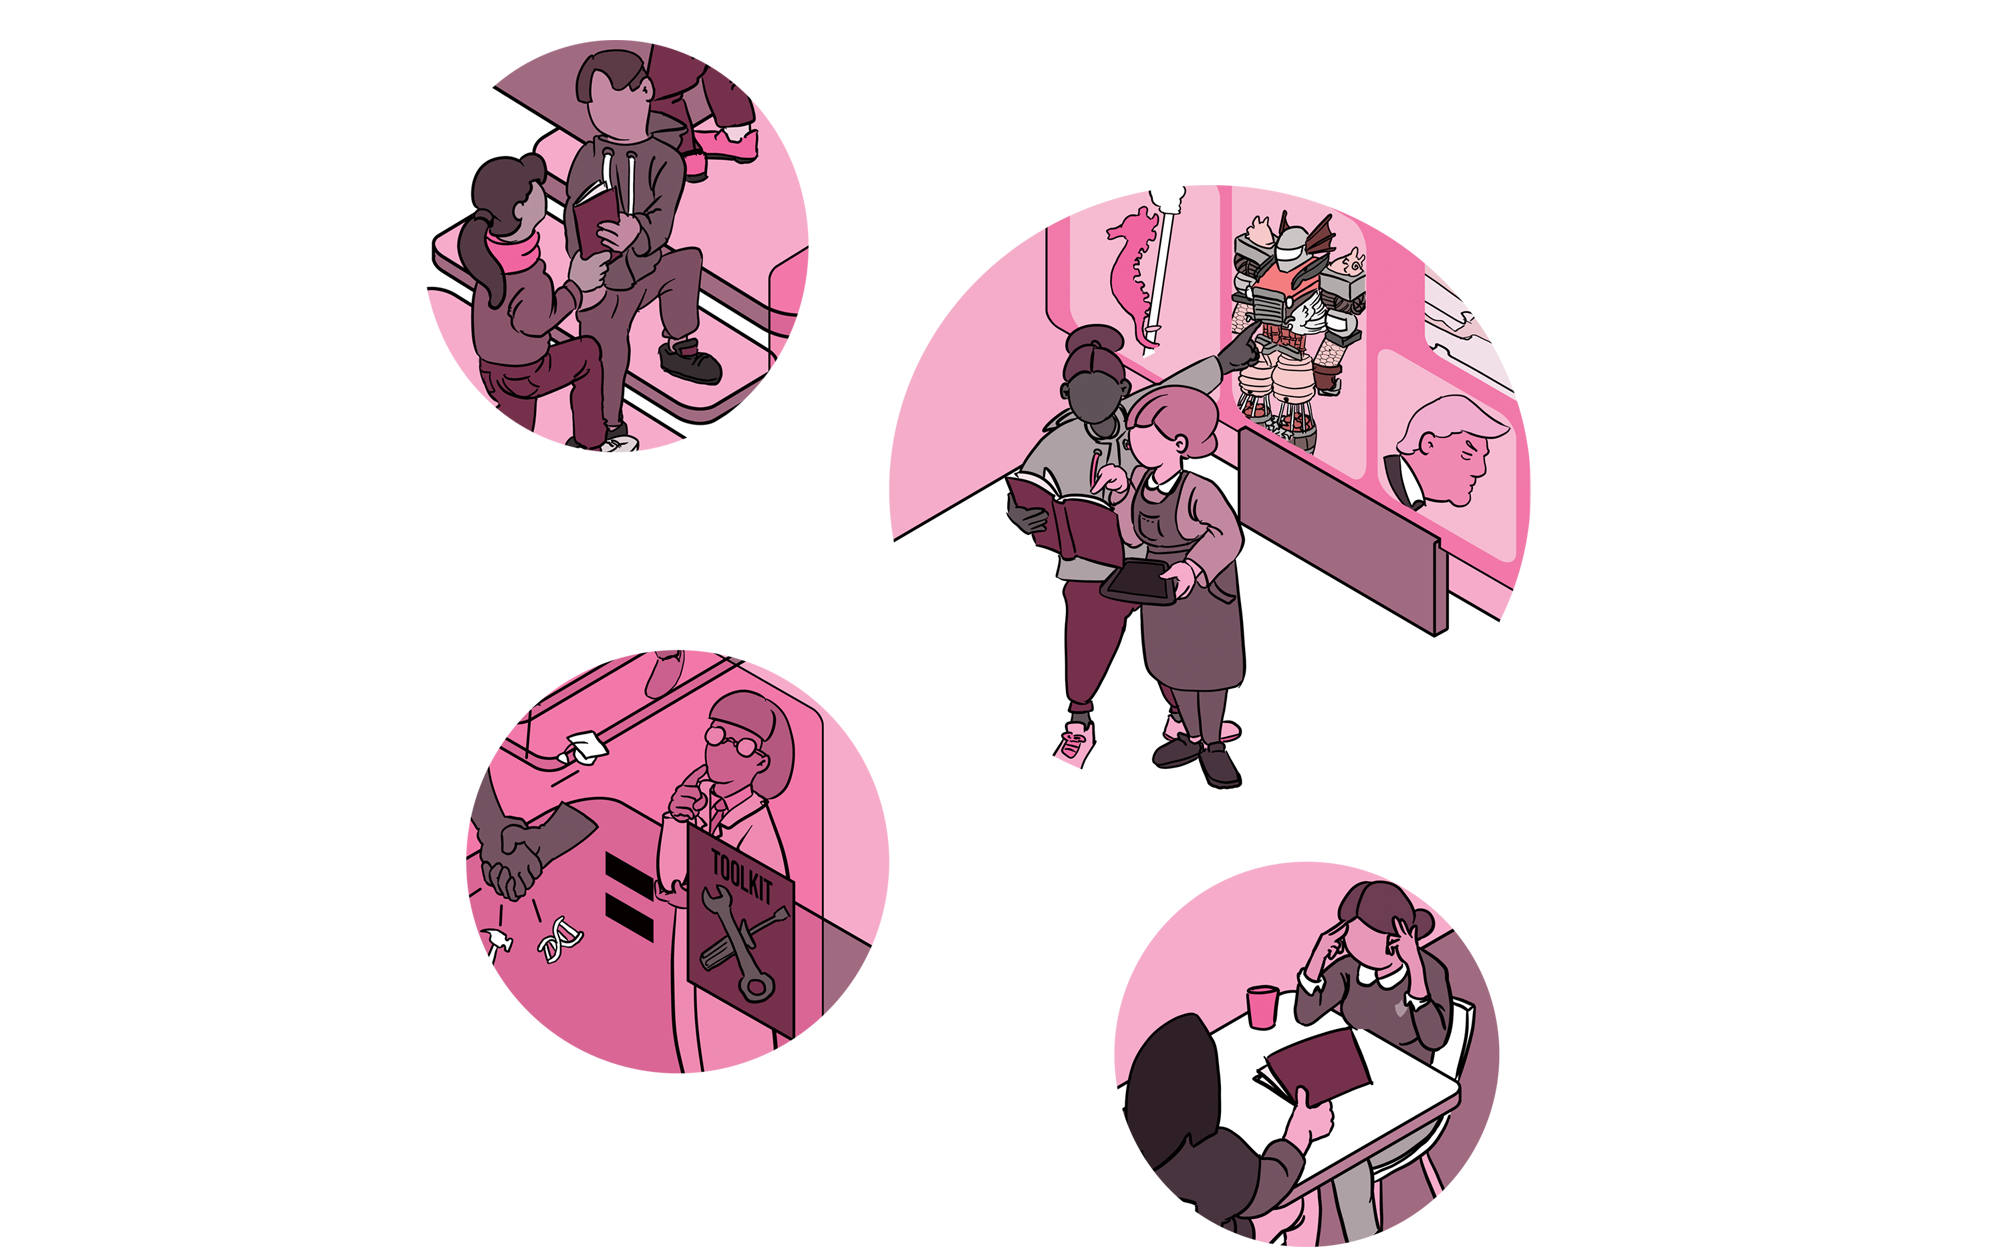
Psychology
The impact of stories on attitudes and behaviour
Science
Researching science stories
Literacy
How to write a comic script
Art
How to make comics for an art exhibition
Time to get organised
Google Drive
Have one of your group set up a Google Drive folder. Make sure it’s shared with everyone in your group, myself (a.r.knibb@gmail.com) and Lesley (lesley@ojc.school.nz).
Organise your folder by making sure everything is named, and making sub-folders for each milestone. Use this Google Doc to make sure you have completed every part, and upload links to each part. Keep it in your shared folder so everyone has access.
Miro
Miro is an online whiteboard. It’s a good space to write down your ideas, build on them creatively and keep everything in one place that you can see!
Set up your Miro board and make sure it’s shared with everyone in your group including me and Lesley.
Milestone 1 | Initial Research
Identify and deconstruct a problematic story about science in our community
Problematic science stories prevent people from making positive change through science
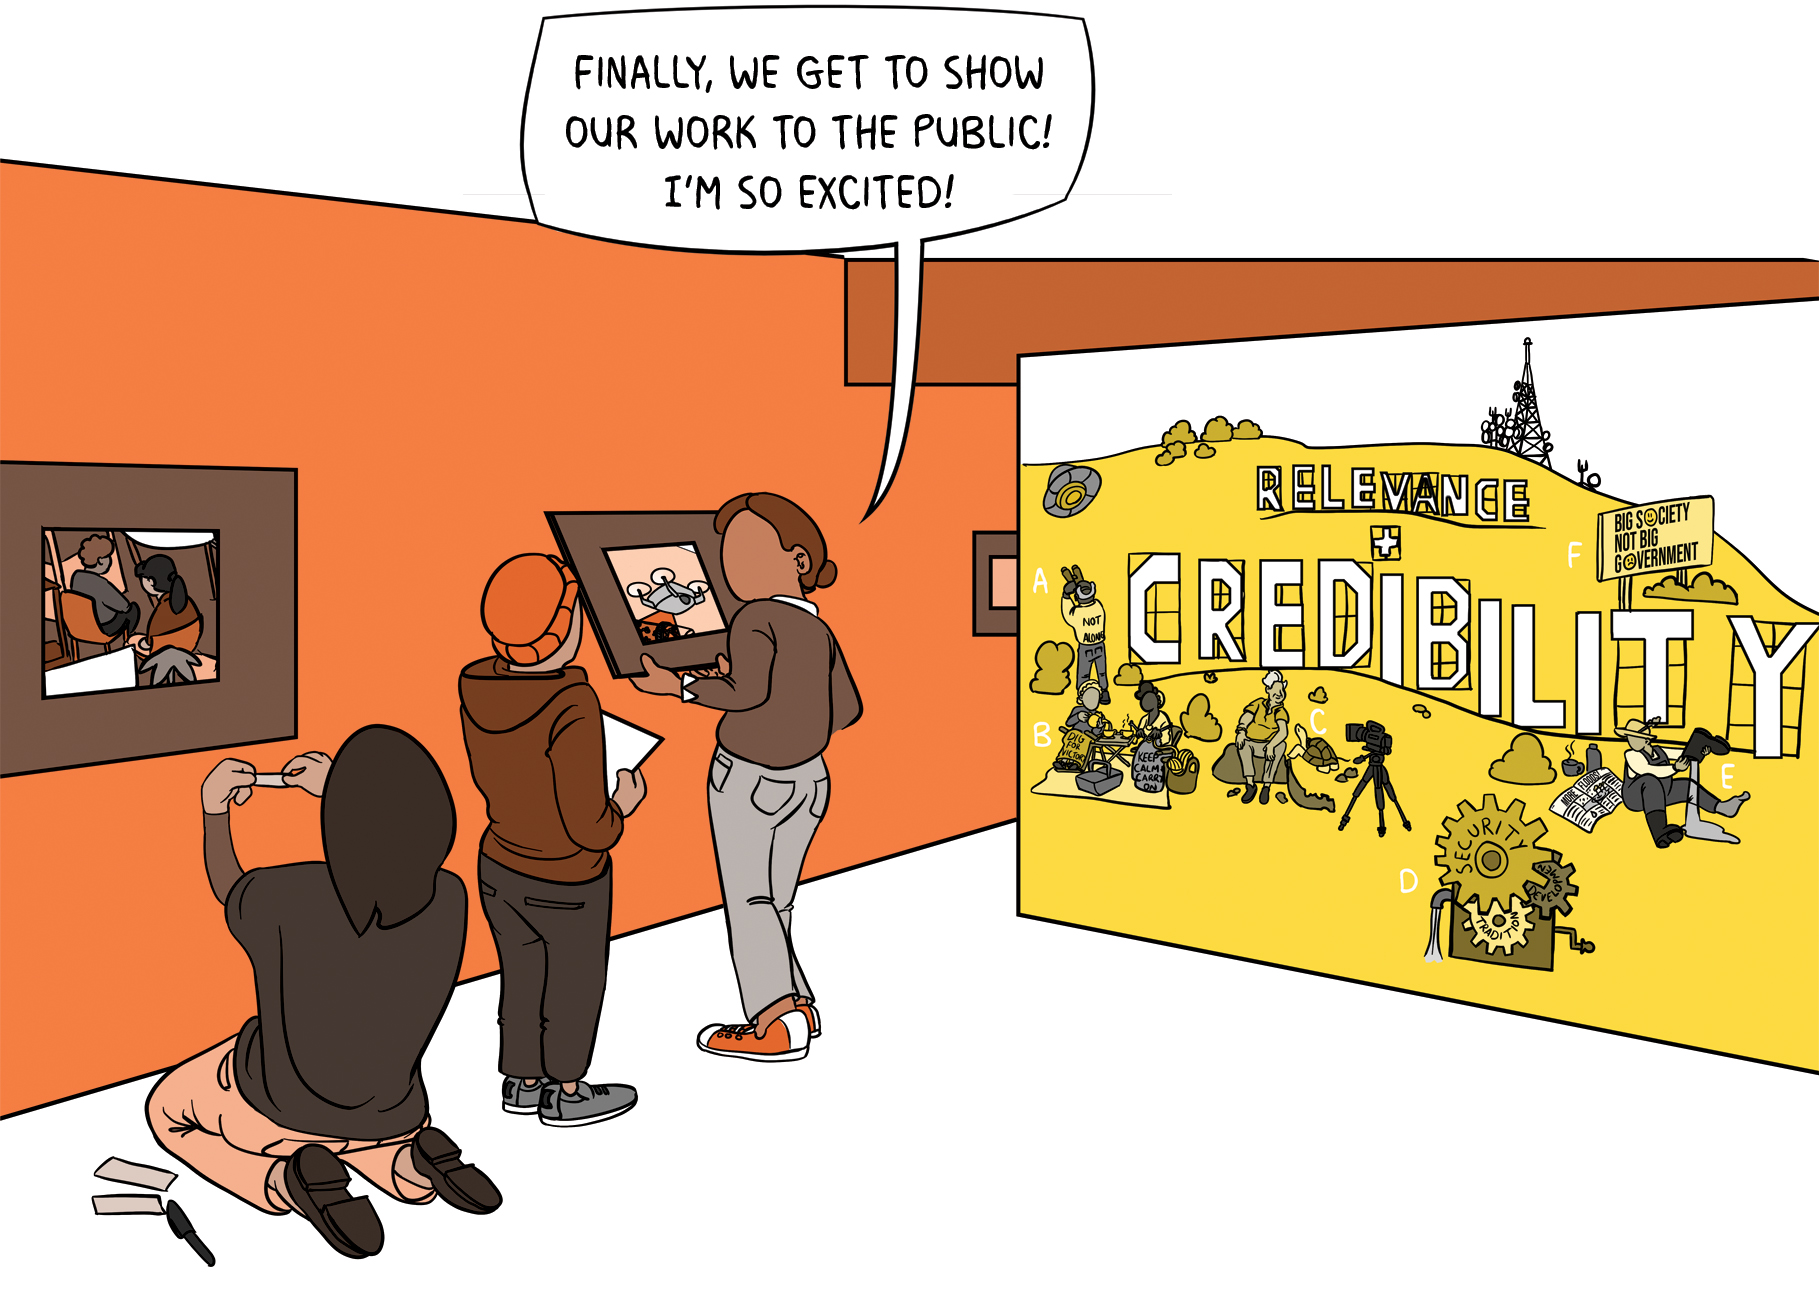
For example by recycling plastic, using vaccines or reducing their carbon footprint. Here are some examples of problematic stories about science:
By using story-based-strategy
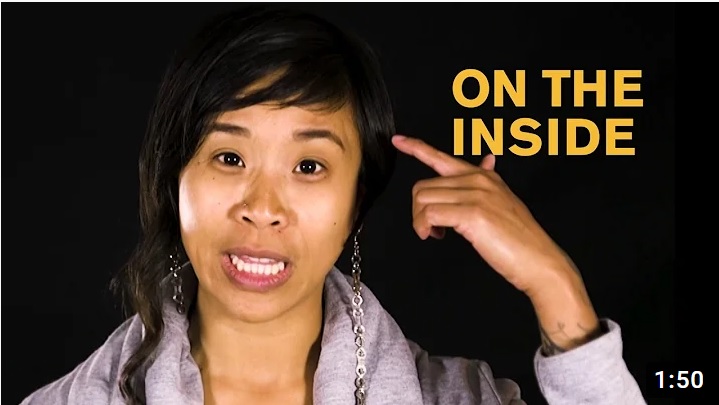
We can craft stories that effectively change the problematic story, uplifting our own underlying assumptions and values. Tap the video to learn the core concepts.
Write down the 3 core concepts described in the video.
Explore how to use Story-Based Strategy using this link.
We break it into story elements
These include conflict, characters, foreshadowing (also called suggested future), imagery, assumptions and weaknesses.
Have a go deconstructing stories into their structural elements. Choose a popular book or film e.g. Lord of the Rings, and write down the main conflict, characters and suggested future in the story.

Conflict/Challenge
An individual attempts to move a mountain
Characters
Members from the community come to help the individual
Suggested Future
Through collaboration, the mountain moves
Jump in and have a go!
Create your own comic strip with a conflict, characters and a suggested future. Upload your comic to the google drive (you can scan it or take a photo or upload it as a file from your tablet).

Start asking around
Get an idea of what problematic science stories exist in your community by asking your whānau and neighbours what they have heard. Are there any from your own experience that you can think of? You can also have a look at news headlines, community notice boards and newsletters.
With your team, choose one problematic story about science that you want to work together to change. Fill in the first box of the ‘Choose your story’ worksheet.
Interviewing the right people can be a big help!
To change a story we need to know more about it. Through interviews we can uncover all the story elements including assumptions and weaknesses.
Assumptions are the things we need to believe in order to believe the story is true.
For example in the story ‘I don’t recycle since China stopped buying New Zealand’s plastic’ we would have to believe that the only way to get rid of plastic is to sell it to China – which isn’t true! There are many alternatives!
Weaknesses are cracks in the story where the story is particularly vulnerable.
For example, in the story about recycling not being sent to China it’s possible that the person telling the story doubts their own power to make a difference – but one person can make a big difference! Look at Greta Thunberg for example!

Who are the best people to
ask about the story you want to change?
As a team, think of 5 people from your community that you will interview, write them down. Work together to write up your interview cards using this Trello template. Use the answers from your interviews to fill in the remaining boxes in the Choose your Story worksheet. Write up the transcripts from your interviews and upload them to the Google Drive.
Here are a few pointers on good interview technique:
Practice
Help them relax
Document it all
Ask for feedback
Reflect on your learning and experience from Milestone 1. You can write a journal piece or film a video diary entry and upload it to the Google Drive.
Milestone 2 | Pre-production
Be able to apply a story based strategy by writing a comic script
Apply Story-based strategy to the story you want to change
The problematic story
How does the story make existing outcomes possible or inevitable?
What are the underlying assumptions in their story? A.k.a what do we have to believe in order to believe their story is true?

Your story
Your story must challenge the problematic story’s underlying assumptions – taking care to avoid accidentally reinforcing them. It must uplift your values and the future you envision.
What assumptions can you uplift to promote a positive future and close the window on outcomes you are against?
What weaknesses in the problematic story will you target to introduce the assumptions you want to uplift? This is called your Point of Intervention. Write down your answer.
Brainstorm lots of ideas!
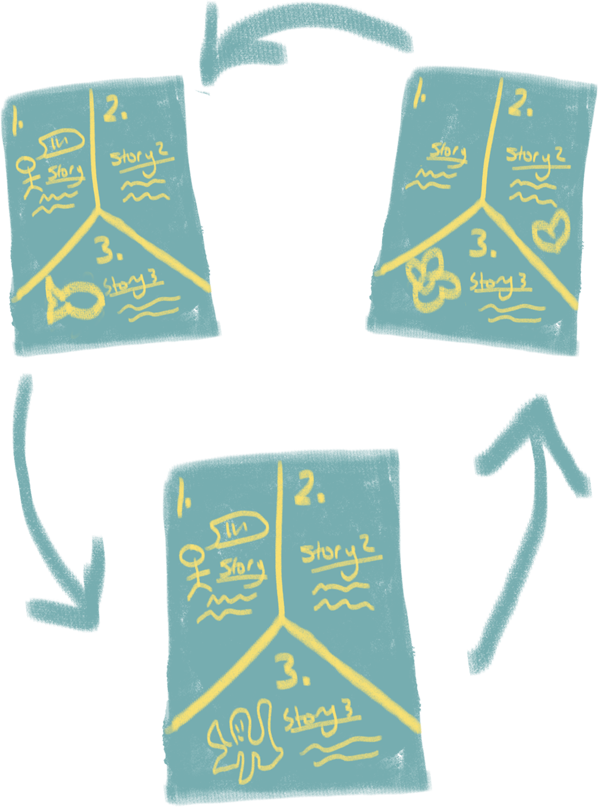
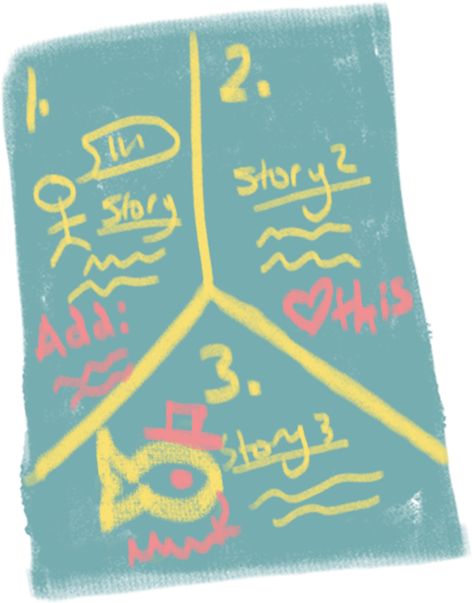
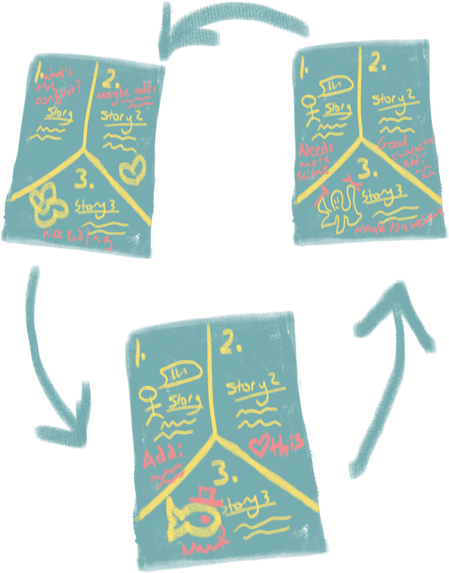
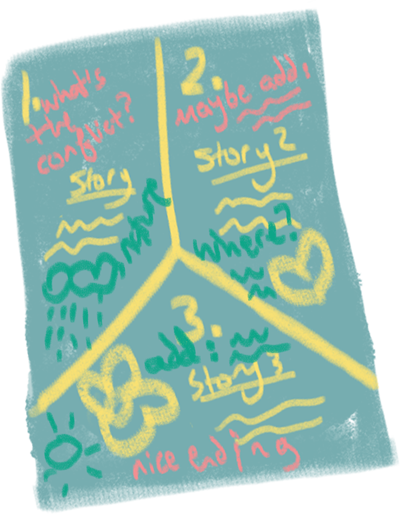
With you team, brainstorm some alternatives for the story you want to change. You can use this brainstorm activity below:
Things you will need: 3x big sheets of paper, 3x pens, a stopwatch
Step 1
As a team, discuss the ideas you have all come up with and choose one idea to turn into a comic. You will all be working together so your team should choose one story idea only.
Say it through your theme
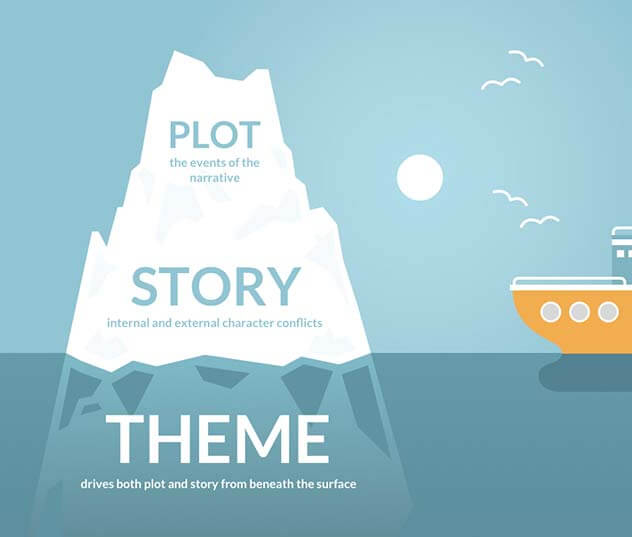
Every good story has an underlying truth that the audience learns by reading the story. This is sometimes called the theme, and there can be more than one theme in a story. In Lord of the rings the theme was that ‘absolute power corrupts, absolutely’. This means that even the nicest people will be corrupted by huge amounts of power, like Frodo was when he wore the ring at Mount Doom. Themes should be able to apply to everyone, other examples are ‘good triumphs over evil’ and ‘humans must bow down before nature’.
What truth do you want your story to convey to the audience? Some writers don’t figure out what the theme of their story is until they have already written a first draft. Some know from the beginning what it will be. As you create your story think about what your theme could be. By the end of the second draft you should be able to tell me what it is. It can have more than one theme.
Take a look at these short comics and write down what you think the theme is for each one.
Your story is driven by its characters and the plot
Once you have chosen the story you will tell in your comic, you must create the story elements. Some of these elements may be the same as the ones in the story you want to change. However, you may want to create new ones.
Decide on your main character and answer the Plot Questions below. Write down your answers. The answer to question 2 will tell you what the main conflict of your story is. It should be related to the conflict in the problematic story you have chosen. Upload your answers to the Google Drive.
1. What does your character want?
2. What is standing in their way?
3. What are they willing to sacrifice to get what they want?
4. What qualities does your main character have?
Choose 3 qualities, one should be a negative quality. See this doc for a list of qualities, the positive ones are in blue and the negative ones are in black.
Using a story structure can help a lot!
Set up a Google doc with your team and start fleshing out your story. Your final comic will be on a single page of A3-sized paper, which leaves enough space for a minimum of 6 and a maximum of 12 panels. As you write your script think about what will happen in each panel. Remember that you need to resolve the conflict of the story by the end.
Sometimes it can help to follow a story structure. The 3 act structure is very popular and can help make your story more compelling. Follow this rough 3 act structure and feel free to adapt it to fit your story better.
Act 1 (panels 1-3)
Introduce your main character, the world they live in and the conflict of the story
Act 2 (panels 4-9)
Build the tension or suspense in the story as the main character tries to solve the conflict but gets it wrong.
Act 3 (panels 10-12)
The main character faces the conflict head on and resolves it. Tie up any loose ends.
Here are some comic tips and tricks to make your story shine!
Comics have lots of techniques to tell a story – which is what makes them such a good storytelling tool! Watch the short videos below, by Mike Silady, for each comic technique. Think about how you could apply them to your story.
Take notes during each video about the technique and where it could work in your comic. Don’t worry about trying to use them all, just use what works best for your story.
These are the most important ones to watch:
Watch these videos for more techniques you could use:
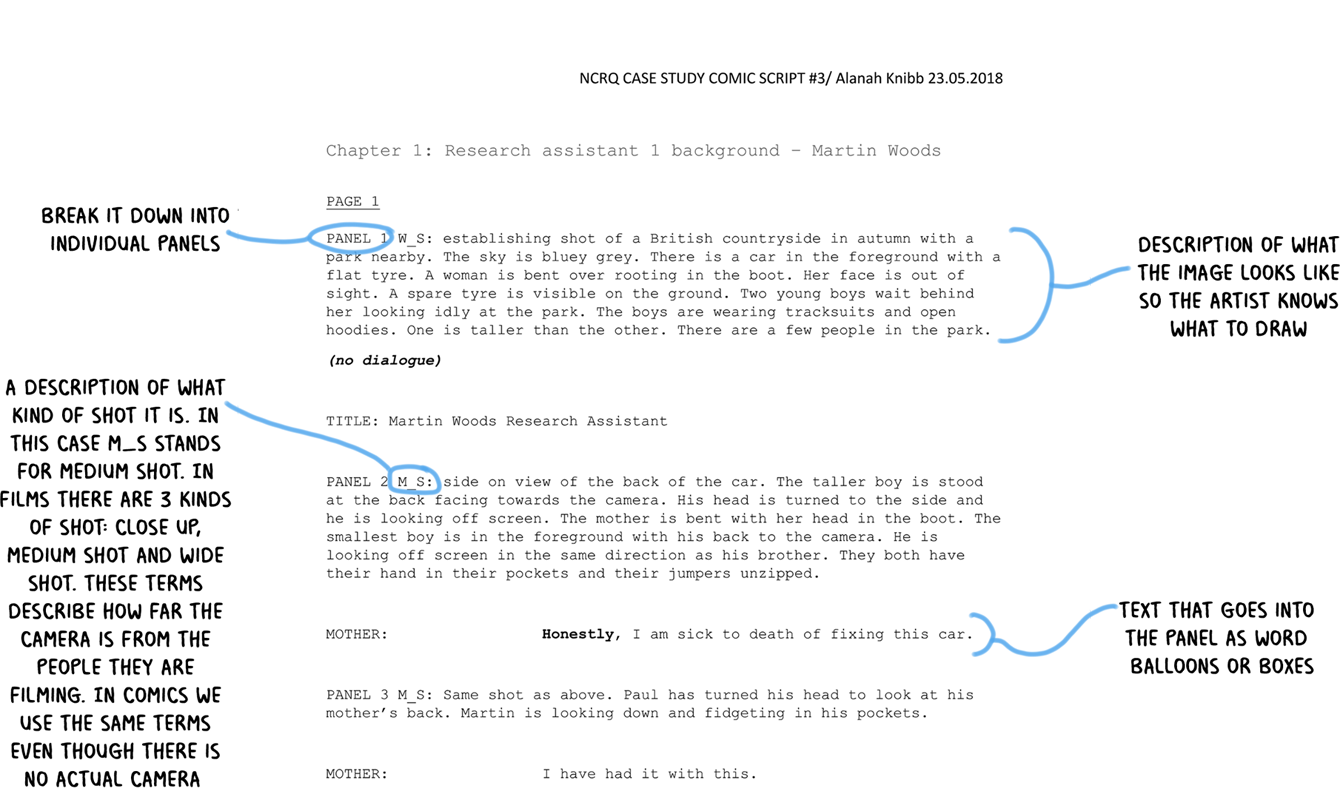
Comic scripts have a format similar to film scripts
Generally, they look a bit like this:
Once you have written a first draft of your script, go through and break it into panels. Write a description of the image you will use for each panel. Use the techniques you learned in the previous section to tell your story with oomf! If it helps, draw out a few rough ideas for how the panel will look. It’s quicker to use stick men and keep the drawings small. Sometimes I draw 2 or 3 versions of a panel before deciding which one looks better.
Watch the video below to learn more about the different camera shots and how to use them in planning your script. Take note of where the cut off point of the character is in each shot – is it the knees? the neck? the feet? Draw each shot as a simple stick man inside a square and note down the names.
Test it out and use the feedback to make it even better!
In the Script Feedback workshop we will read each other’s scripts and give feedback. After the workshop you will write a second draft of your script using the feedback you received.
Attend the workshop ‘Script feedback’ and make sure you have a first draft of your script finished to bring along to the session.
If you’ve gotten to this stage then Congratulations! In the professional world the first review step is a huge milestone because it’s the first time you get to show your client all the hard work you have been putting in! It’s also a near guarantee that you are about to make your comic even better from all the feedback you are about to get. Whoop!
Before drawing the artwork for the comic we draw the storyboard
Reflect on the feedback you received from the workshop ‘Script Feedback’. Write a second draft of your comic script using the feedback you received.
Now you need to make a storyboard for your script. The aim of the storyboard is to get a sense of how the comic will look and feel to read. At this stage your team might still decide to change the way a panel looks or is laid out so it’s better not to put too much work into drawing the images of the storyboard. Draw out each panel in a very simple style. You can use stickmen for people and don’t worry too much about drawing backgrounds or details unless they are important for the story.
Include speech bubbles and text boxes in your panels. What you are aiming to have by the end is a very minimalist comic that anyone could pick up and read and still understand.
Here are some examples of storyboards used in comics and films:
Watch this video if you want to level up your stickman drawings
Test it out again!
This time we will test your comics with a focus group of community members, parents and whānau. Attend the workshop ‘Focus group feedback’ to receive your feedback.
After this workshop you will write a third draft of your script using the feedback you received.
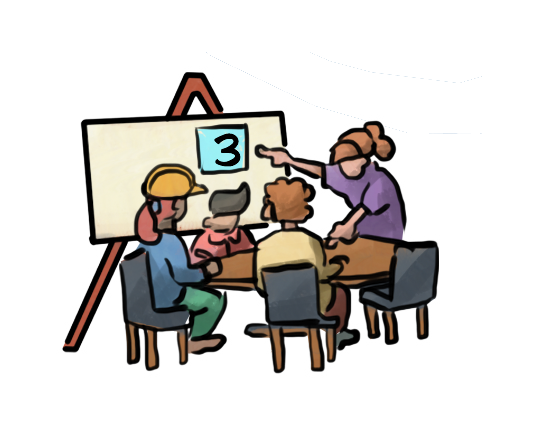
Attend the workshop ‘Focus Group Feedback’ and make sure you have a finished storyboard to present to the focus group.

Reflect on your learning and experience from Milestone 2. You can write a journal piece or film a video diary entry and upload it to the Google Drive.
Milestone 3 | Production and Evaluation
Work together to produce an exhibition piece in the form of a comic
There's a whole bunch of art tips and tricks you can use
Improving your art is a never-ending journey! Often the more time you put into it the better it gets, whether this means practicing and watching videos or spending a lot of hours on one picture. Take your time and keep at it and you’ll surprise yourself with what you create!
Watch the videos below to learn about the different core art skills for comics. Use these skills when you draw your final comic, you can work with whatever form you like- paper and pencils, photographs, digital art, paint and more. Once you’ve chosen your style, stick to it to keep your comic looking the same throughout. This makes it easier for the reader to engage with the story.
Start here if you havn't done much drawing or feel new to it
Start here if you feel comfortable with the basics of drawing
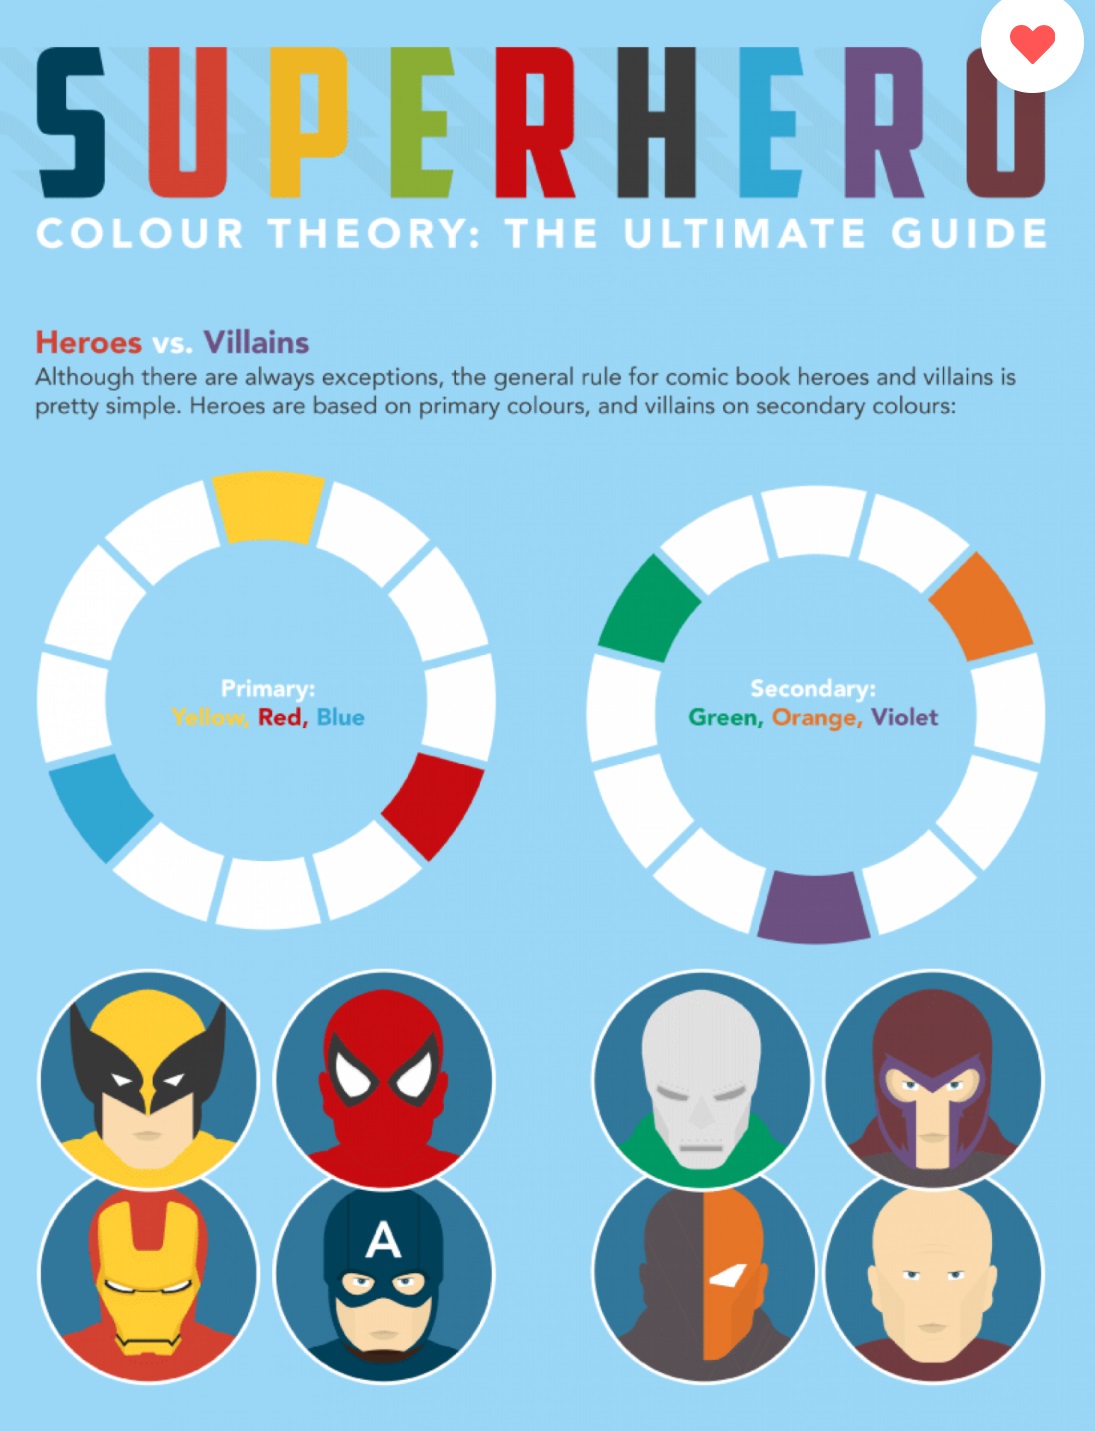
Here are some tips about using colour in creating your main character, even if they are not a superhero or a supervillain. When choosing a colour palette, choosing the colours for your character is a good place to start!
Using a computer program that works with images is a great way to put all the images onto one A3 page
Now we need to get your comic to a stage where we can show it to the public.
To do this we need to make sure all the panels are readable and that all the work is on one A3 page. If you need help putting your comic together onto one page using printing or formatting computer programs, then ask me or another teacher. We are here to help!
We then need to mount the work and frame it and create exhibition labels that will tell the reader more about your comic and the work you put into making it. Attend the workshop ‘Exhibition prep’ to prepare your comic for the exhibition. You will need to bring your finished comic, formatted onto a A3 page, either as a physical copy or as a digital file we can print out.
Your exhibition labels need to include the following information:
- The title of your comic
- The names of everyone in your team
- A statement about what your comic is about and the underlying messages and assumptions you want to portray through your comic
We show the comics to the public and then ask them about their experience
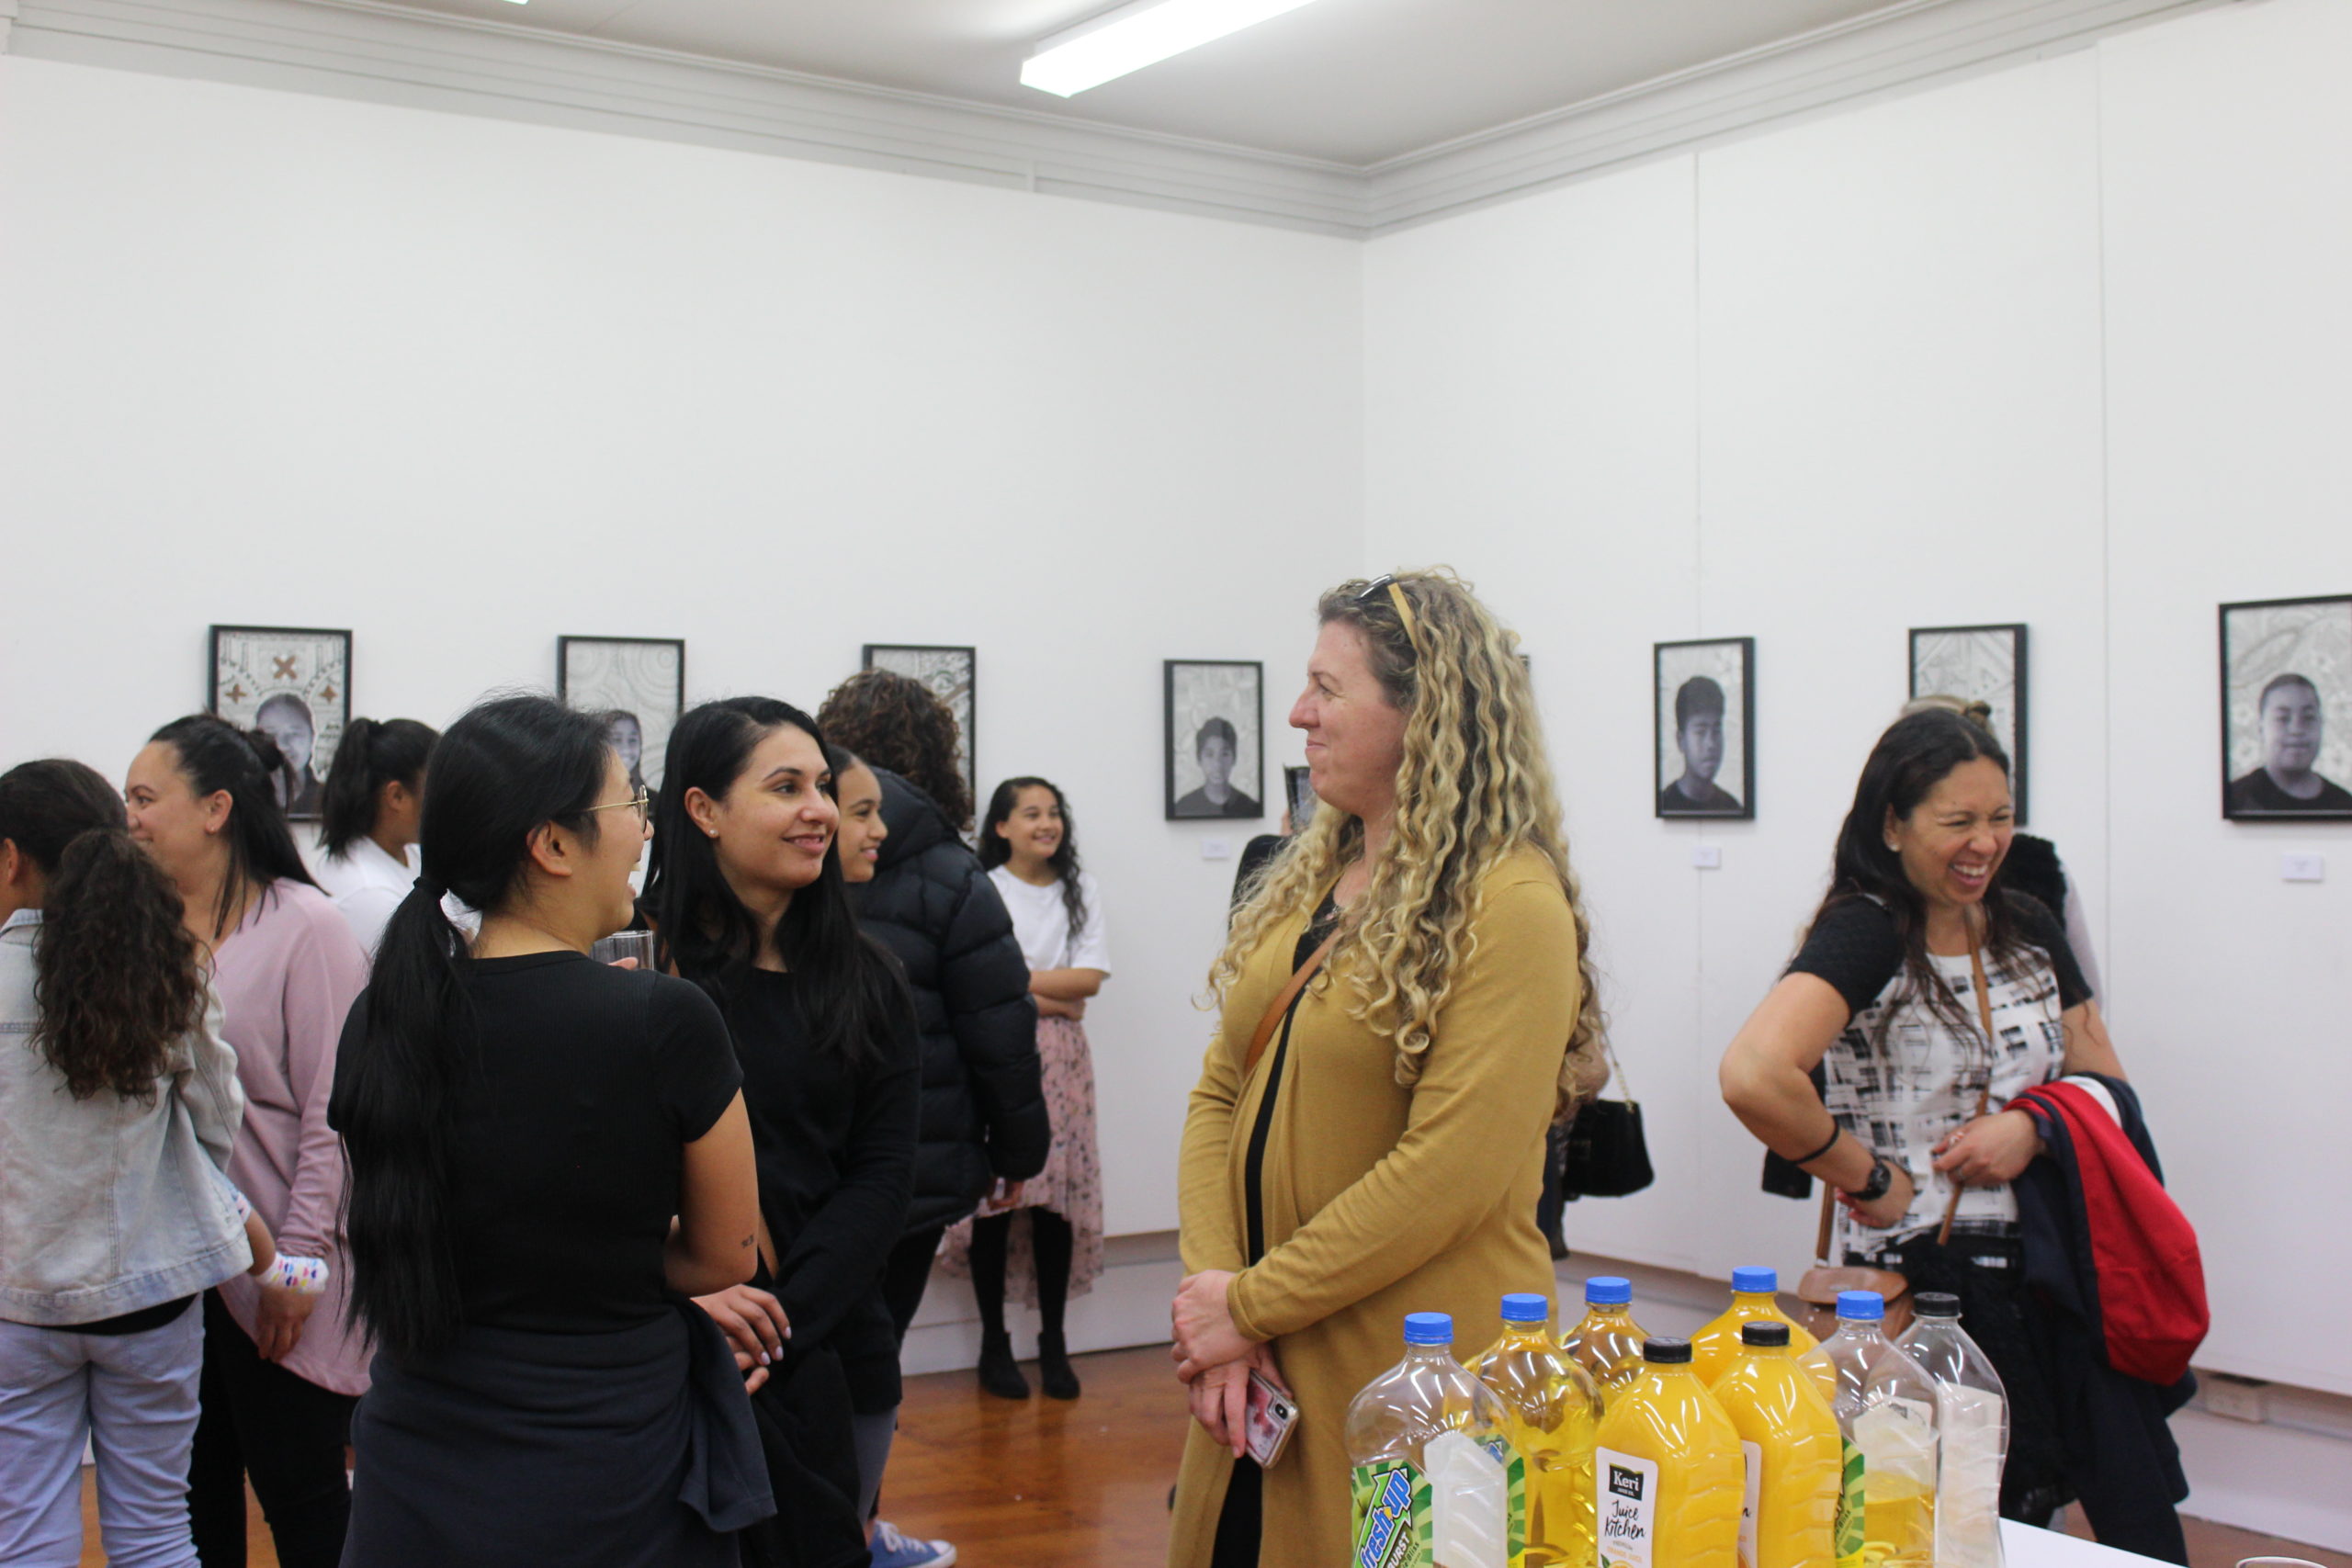
Soon your comics will be in an exhibition in your local community. They will also be in a second exhibition at the art gallery Studio One Toi Tū in Ponsonby at the end of August.
You are invited and encouraged to attend the launch nights for each of these exhibitions (the dates will be given to you when they are confirmed). This is an opportunity to see your work making real impact in the world and to pat yourselves on the back for all the hard work you have done! Bring your whanau and friends to the launch night, there will be free drinks and snacks available.
To measure the impact of your comic, you need to conduct a survey with people who have read your comic at the exhibition. To do this your team must create a questionnaire. Your team must get a minimum of 5 surveys, which means you will need to ask 5 people at the exhibition to fill out the questionnaire. Take a photo of each filled-in questionnaire and upload it to the Google drive.
Here is a template you can use to help make your questionnaire.

Reflect on your learning and experience from Milestone 3 and the project overall. You can write a journal piece or film a video diary entry and upload it to the Google Drive.


